


How to create font package
Prerequisites:
Install Python
- Also, if you do not have pip installed, follow the reference URL to install: https://packaging.python.org/en/latest/tutorials/installing-packages/
Open the cloned repo through a text editor (eg Sublime Text)
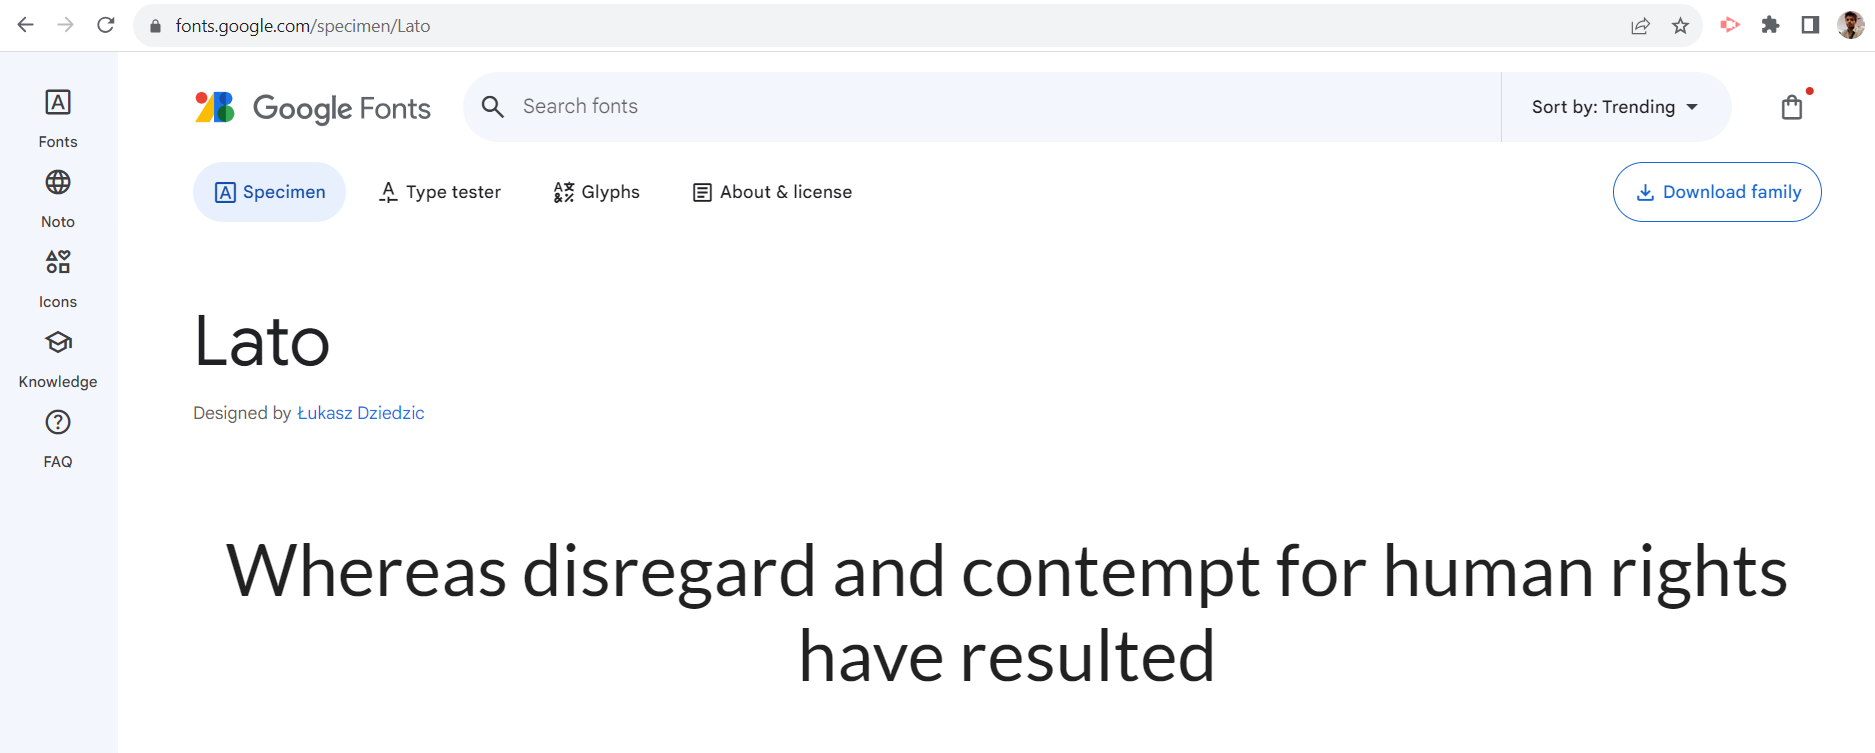
- Explore the Google fonts and choose the font you want to create in fastn (eg: lato)
- Select all the styles of the font that you want to have in your font package.
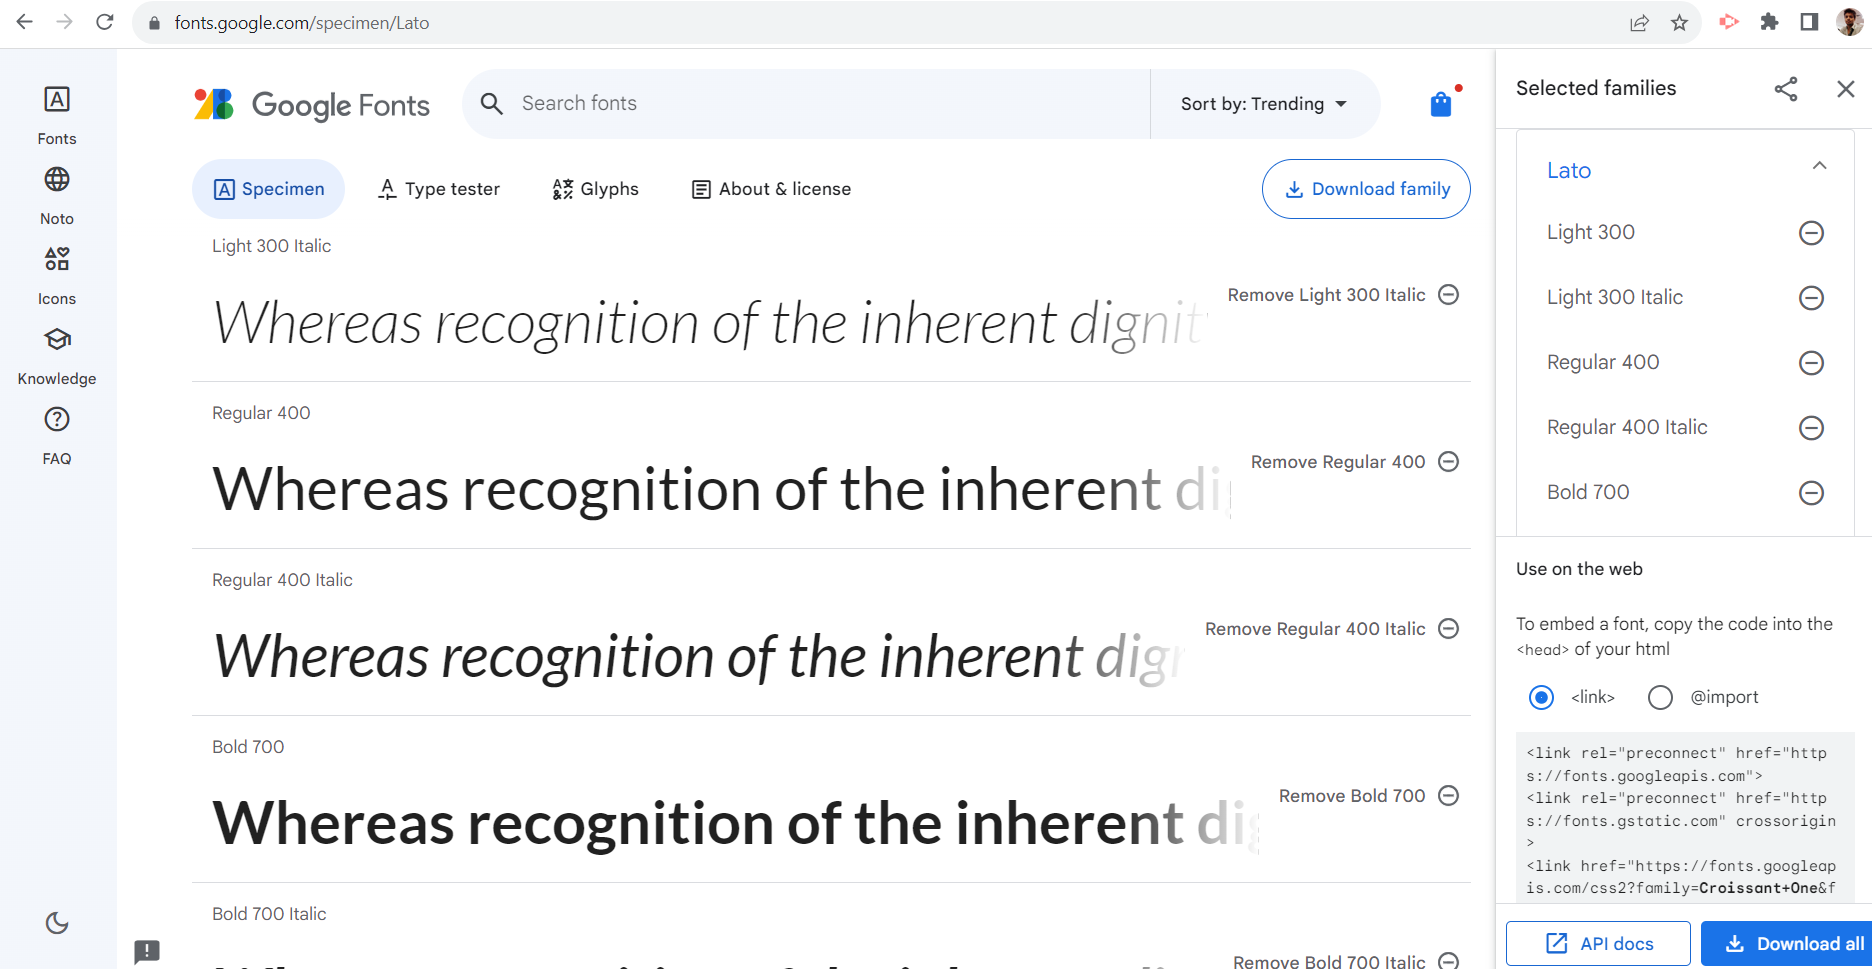
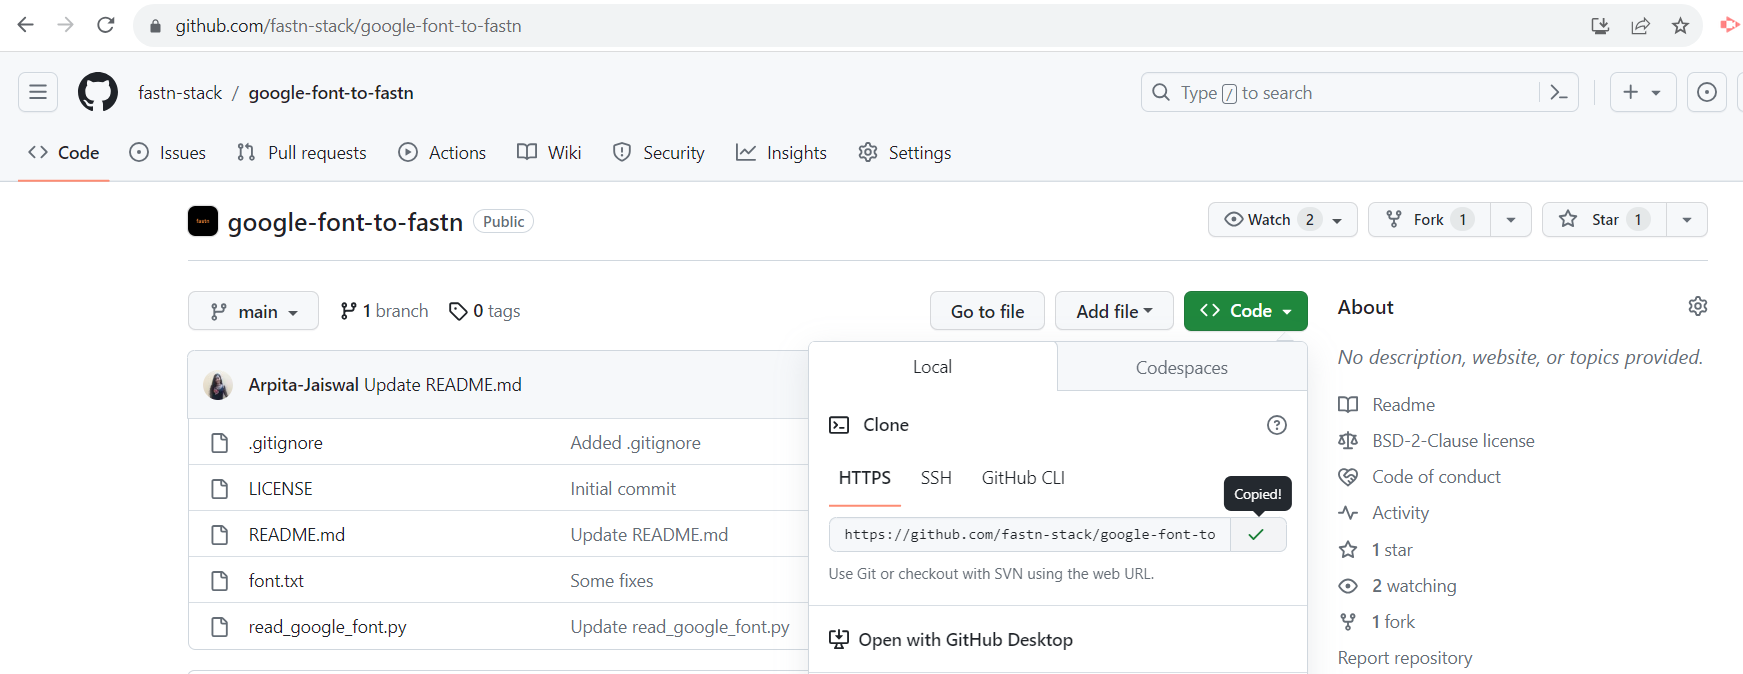
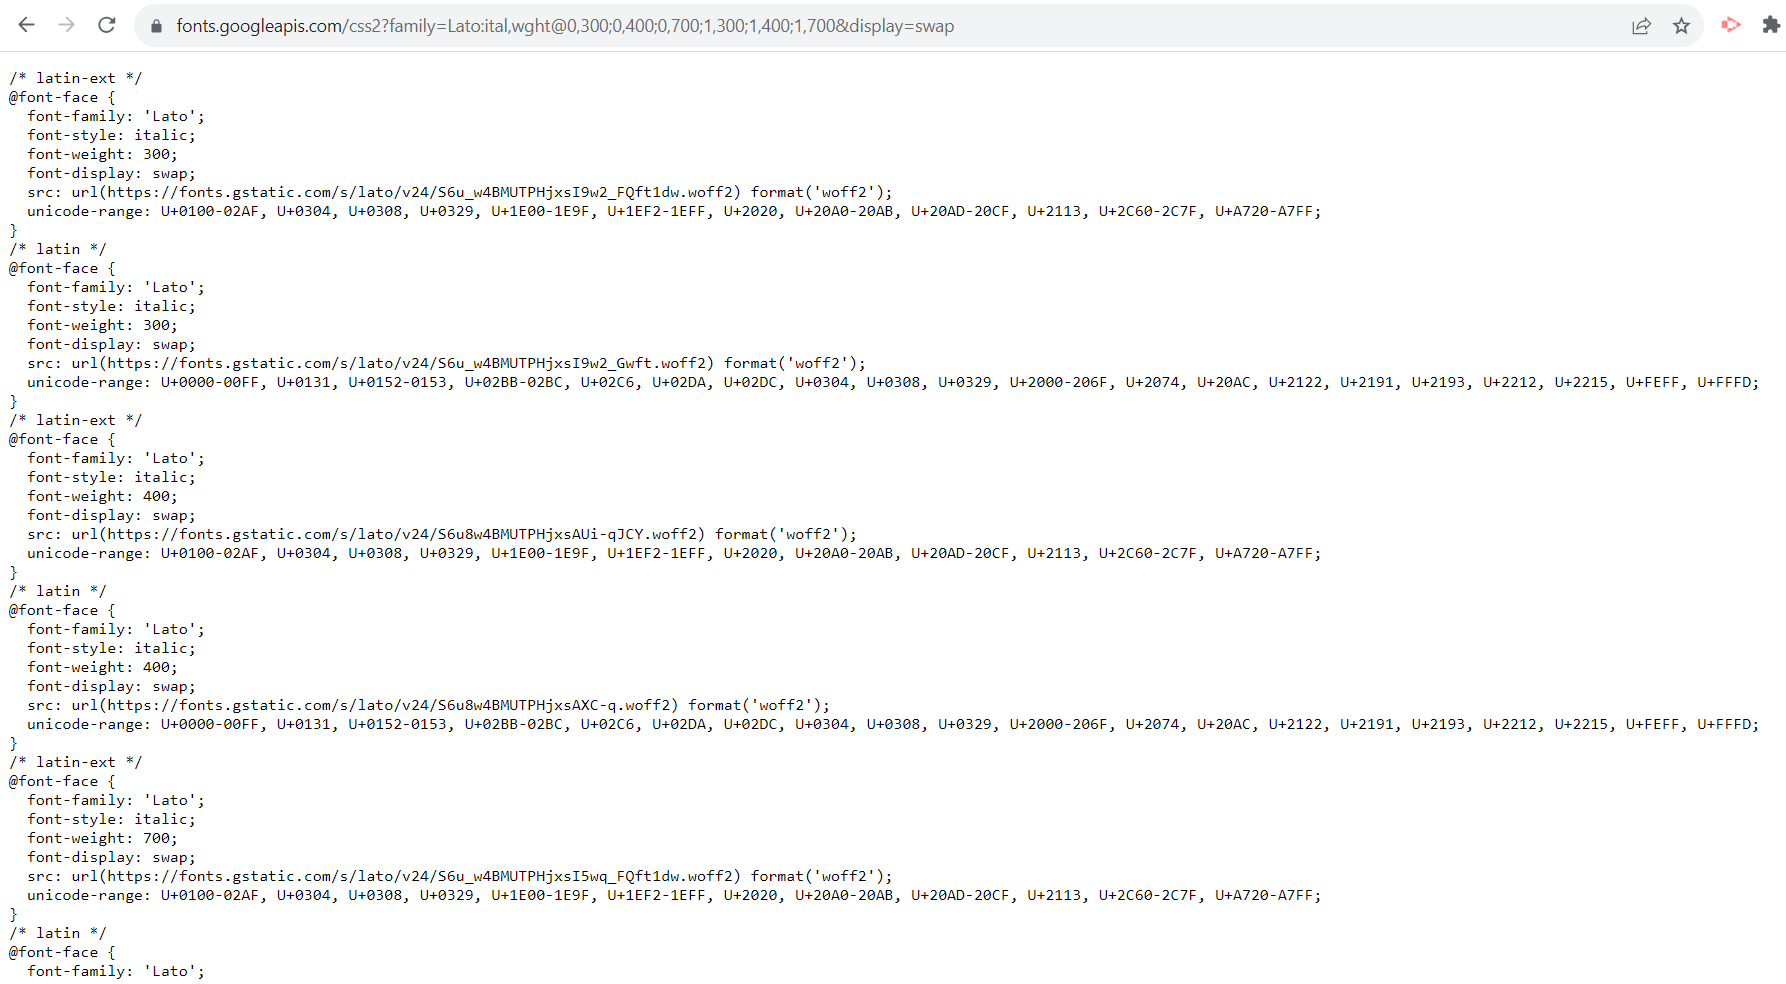
- Copy the URL, as given in below image example.
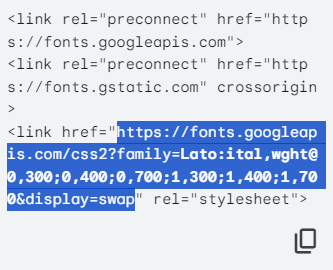
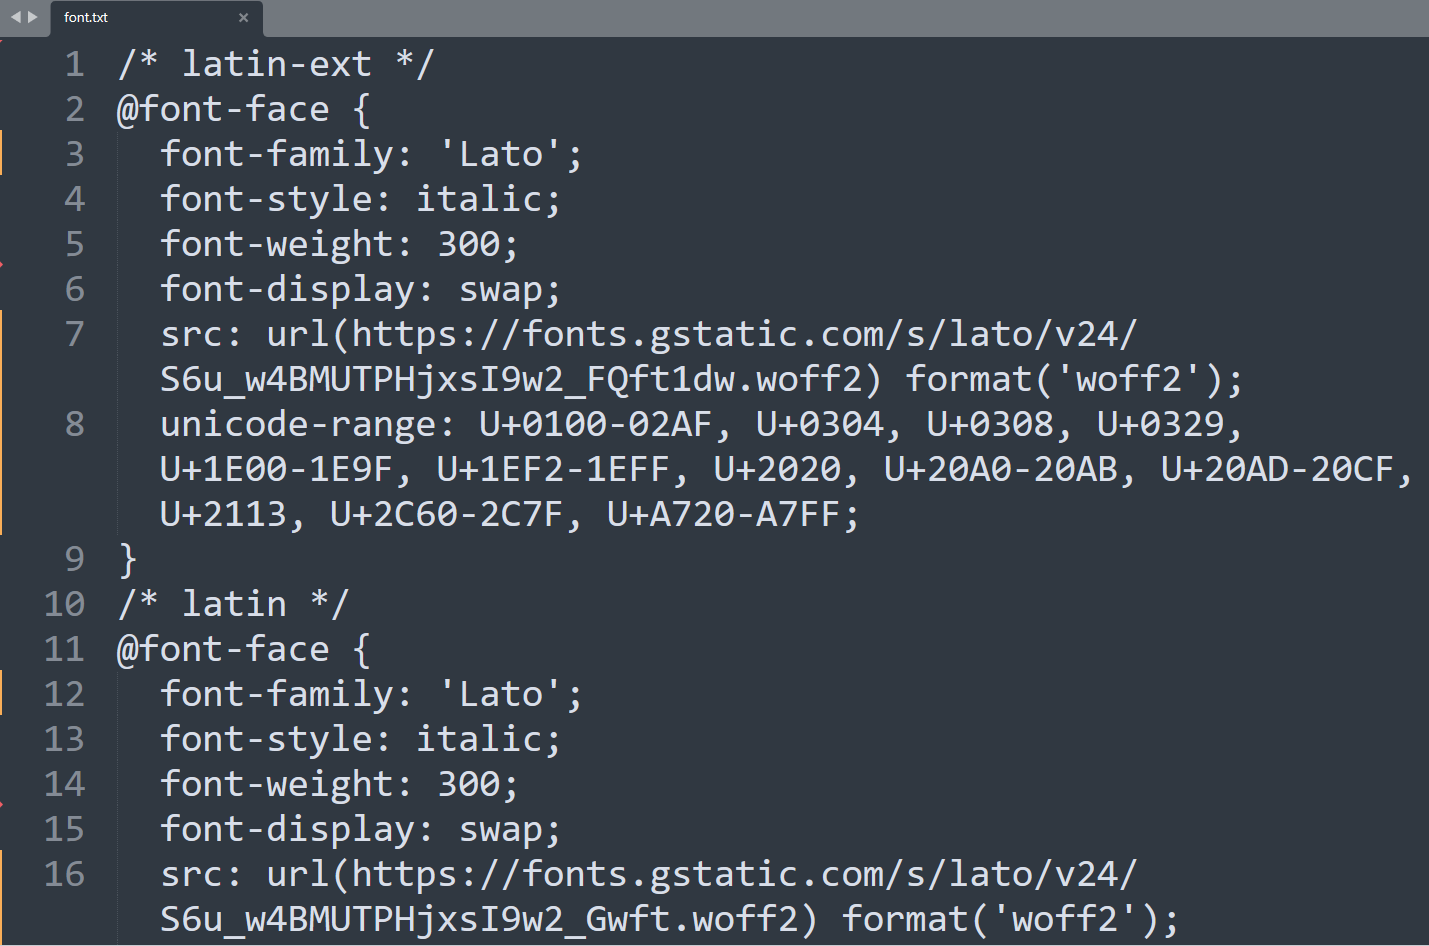
- Paste the URL in the new tab and copy the content of the entire page.
- In the cloned google-font-to-fastn repo, open the font.txt file and replace the content of this file with the copied content
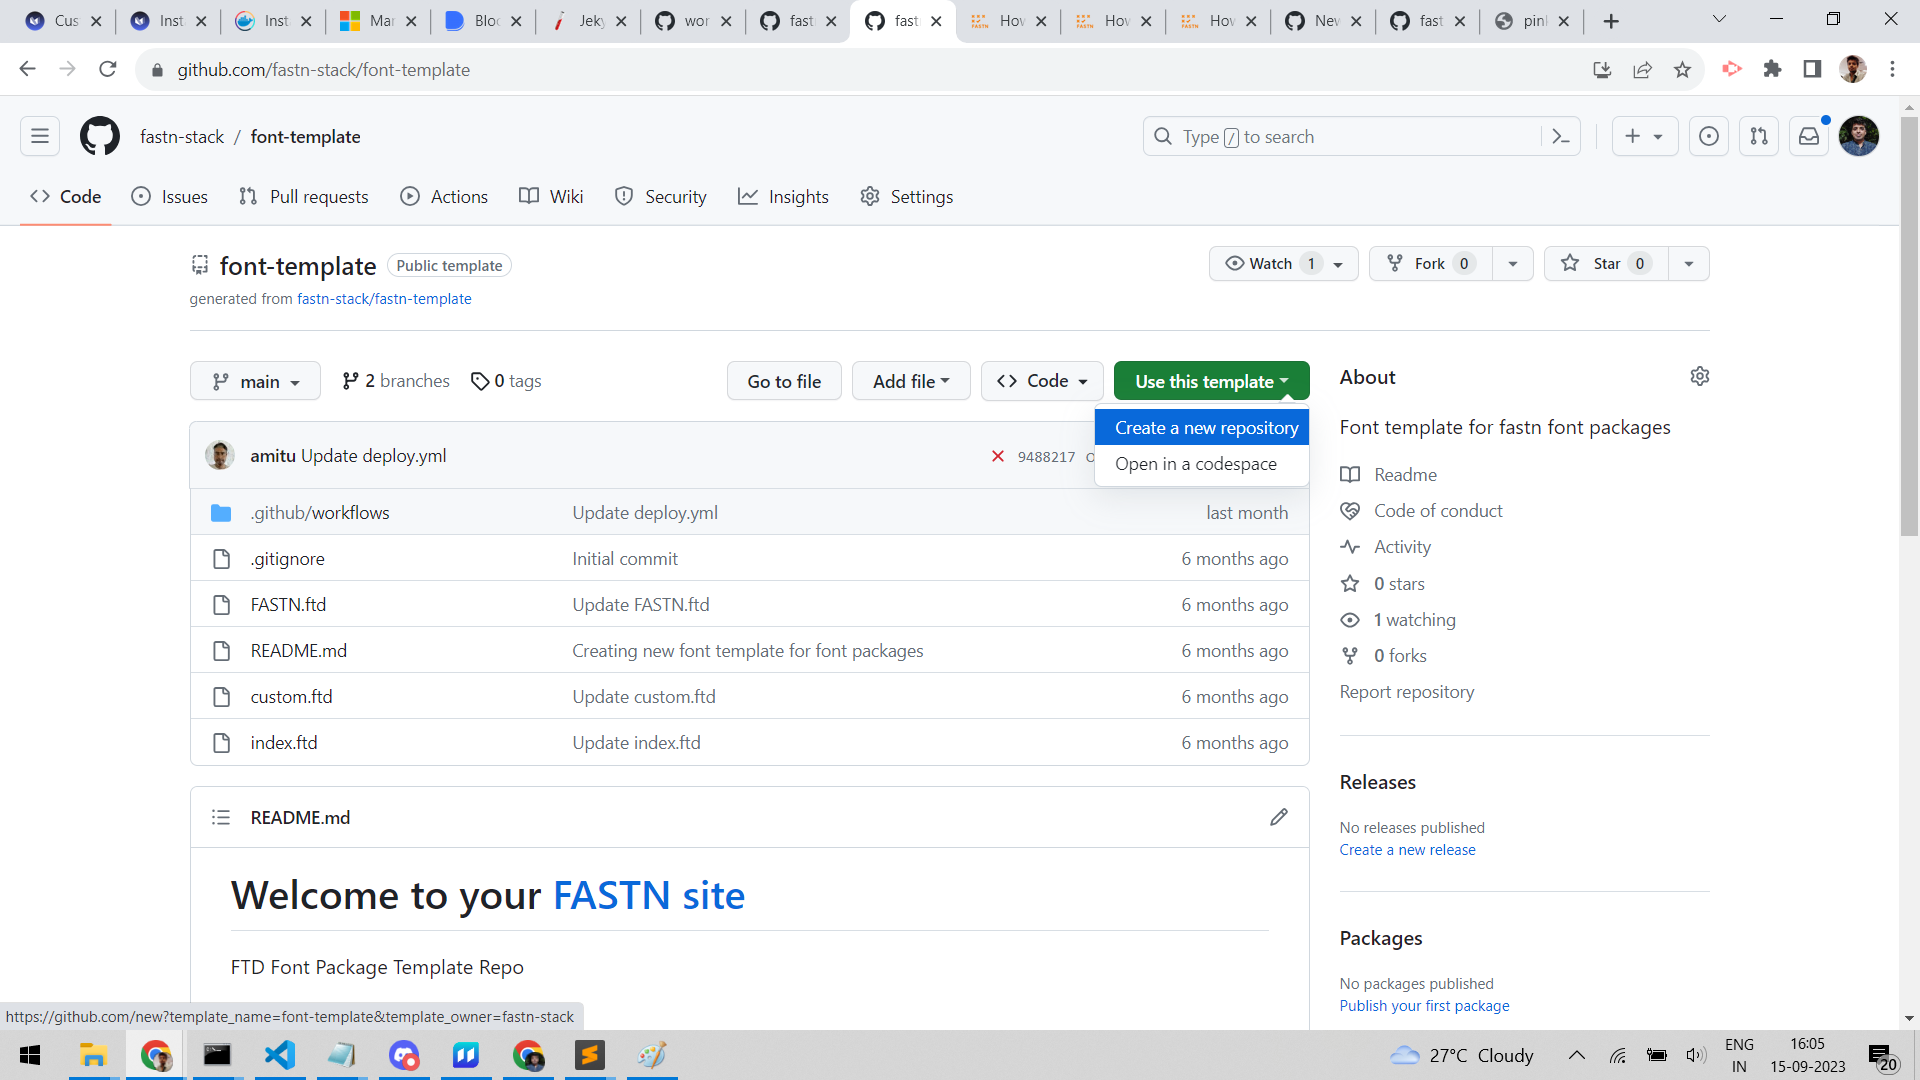
- Use the font-template to create the font repository
- Copy the the font repostory package name from the FASTN.ftd file
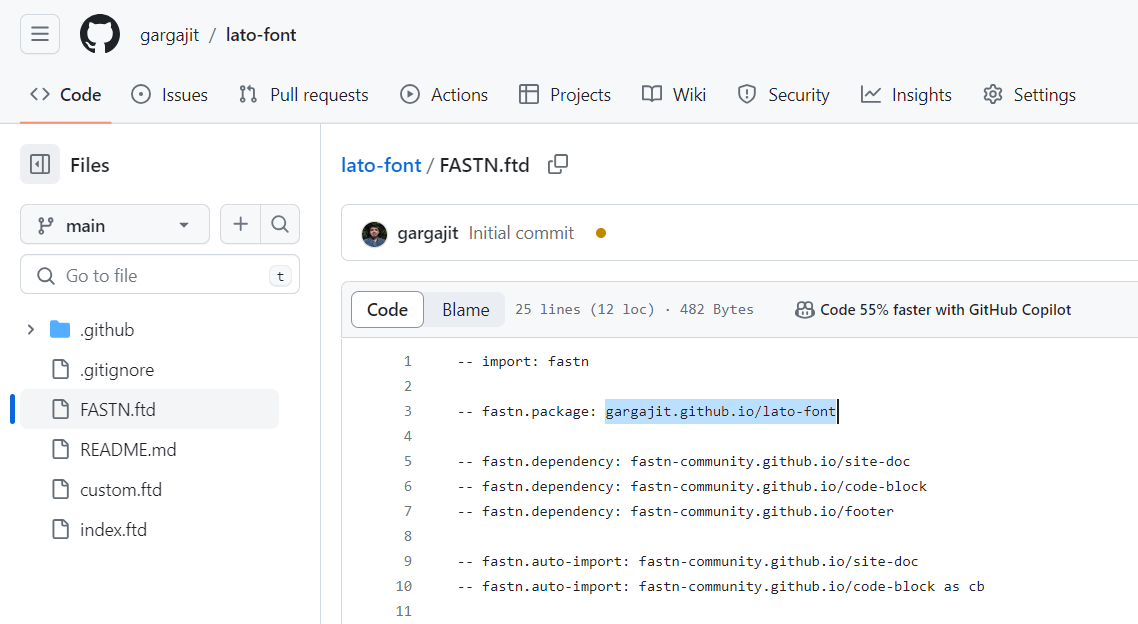
In the cloned google-font-to-fastn repo, open the read_google_font.py file
Search for package_name variable and change the value with your font repository package name. Also, search for repo variable and change the value with the alias name (eg: lato-font)
Open the terminal and navigate to the directory of the cloned google-font-to-fastn repo
- Run the python request command.
python3 -m pip install requests
python3 read_google_font.py
(This script will generate FASTN.ftd and static folder in the google-font-to-fastn repository)
- Open the FASTN.ftd file and copy the all --fastn.font sections.
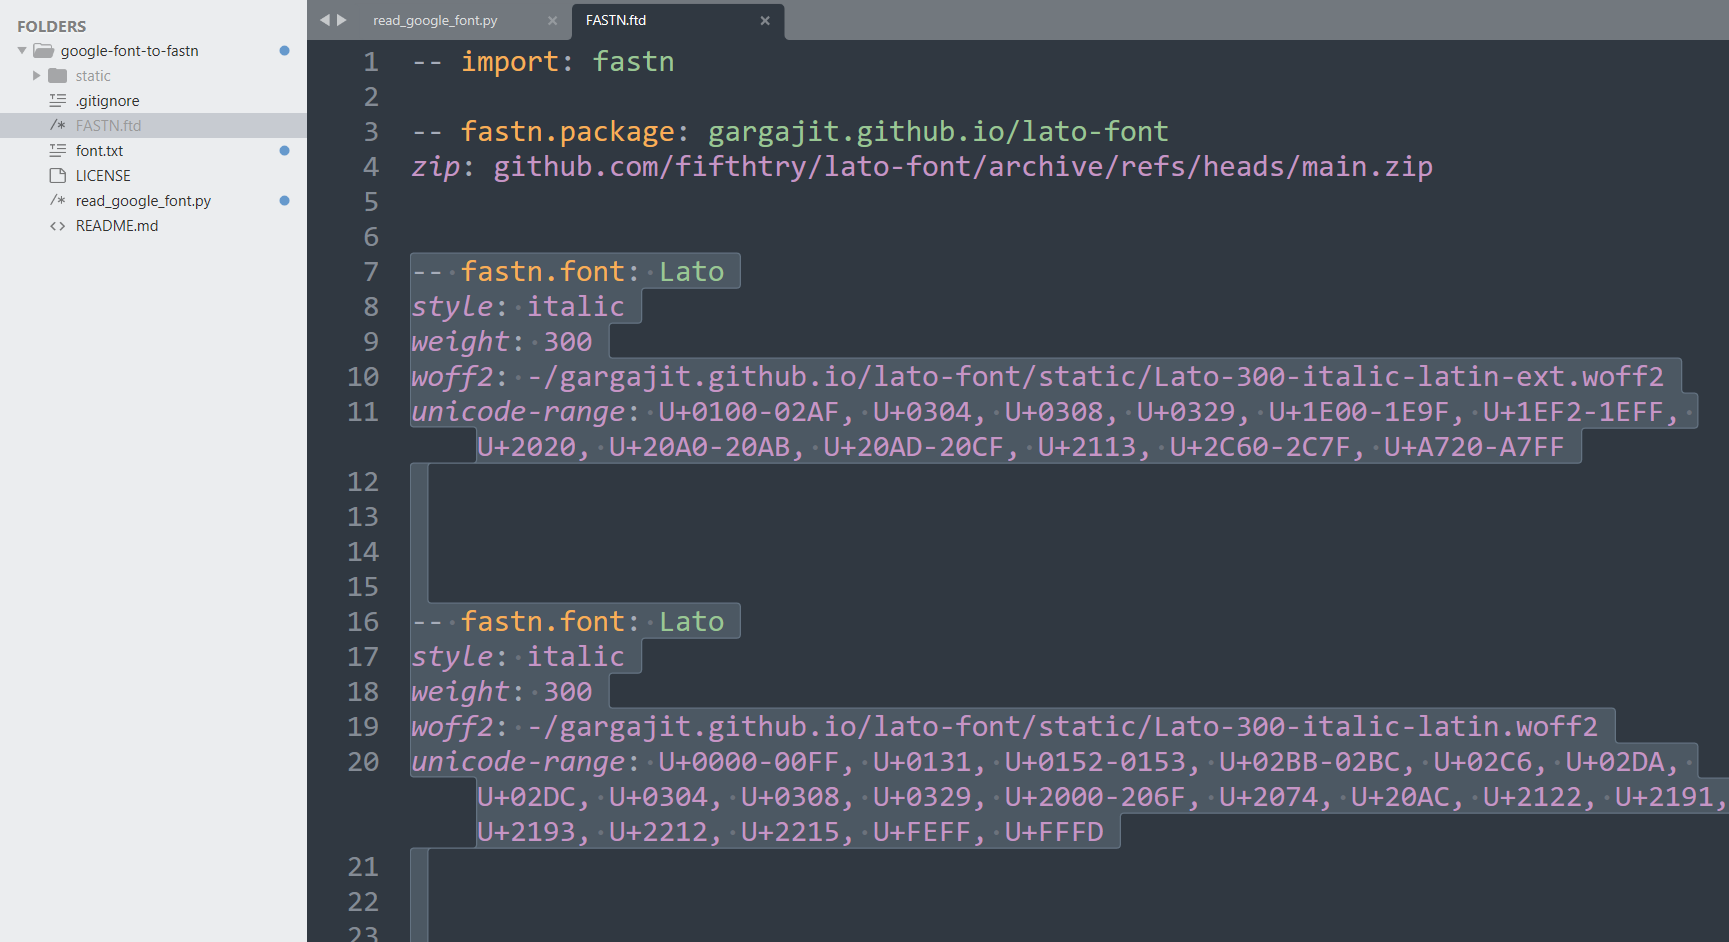
Now, open the FASTN.ftd of the font repository you created using the font-template
Paste the copied --fastn.font sections there and Commit the changes
Now, open the custom.ftd file and replace with the selected font name (eg: Lato)
Copy the static folder that was created in the google-font-to-fastn repository when you executed the command and paste it in your repository
You have successfully created your custom font
- Go to Settings>Pages and select gh-pages from the Build and deployment section.
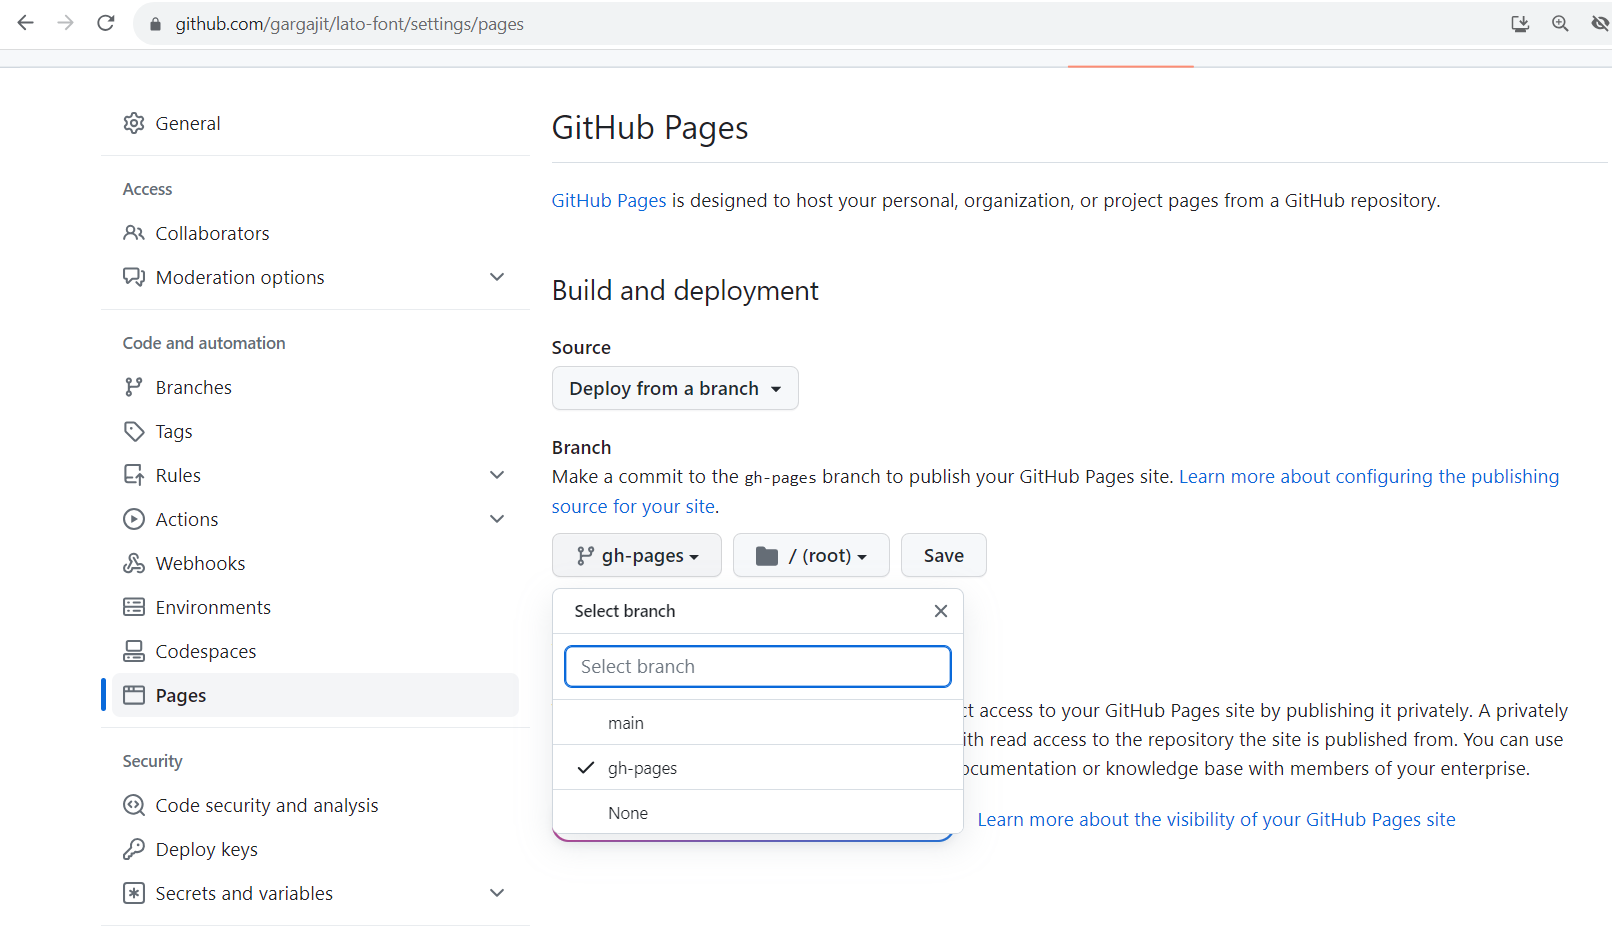
This will generate your live URL once the workflow Page Build and Deployment executes successfully.
- Open the URL and you will see the output.


